Do you have an online store on Shopify, WooCommerce, or BigCommerce? If yes, this article about Exit Popups (Exit-Intent®) for your Shopify Online Store is for you.
So, in this article, we briefly explain you to how to integrate Shopify to Optinmonster.
What is Exit Popups and why?
When visitors come to your online store and add the product to the cart, but they suddenly decide to go back by clicking on the back button on the browser.
But as a site owner, you are not to want to lose any opportunity to hold the customer. But also you do not have any clues on how to grab the visitors back to your site when they want to go back by click on the back button.
So, in this scenario, you can use the Exit Popups technique to your website or any type of online store.
By this Exit Popups technique, you can give any offer or discount popups to visitors when he decided to go back or try to close the web browser tab.
In addition, this technique working with the behavior of the web browser, which means, when the visitor moves the mouse over the place of the website URL now the exit popups start working.
How to implement OptinMonster Exit Popup on Shopify
So In this article, we’ll show you how to create a lightbox popup for Shopify.
First, you will need a Pro account on OptinMonster. If you have not a pro account get it at the link below.
After purchasing of OptinMonster pro install the plugin to your WordPress website. If you are fresh to WordPress so, please read our guide on how to install the WordPress plugin.
Create a Campaign
Now, after installation and activation of the plugin, follow the first step of Create a Campaign

OptinMonster comes with a bundle of pre-made templates, you can choose one of them. Furthermore, in this tutorial, we are going with the pop-up. After clicking on the pop-up next select one of the templates, then give a name to your pop-up and select your e-store run by Shopify from the list. If you have more websites on your OptinMonster pro account.
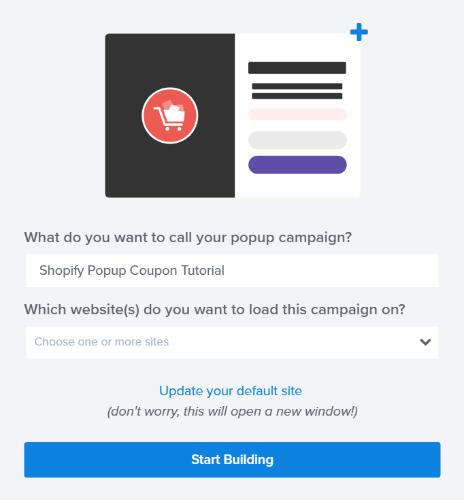
In addition, OptinMonster comes with drag and drop builder features. You can add fields as you want or customize their pre-made templates.
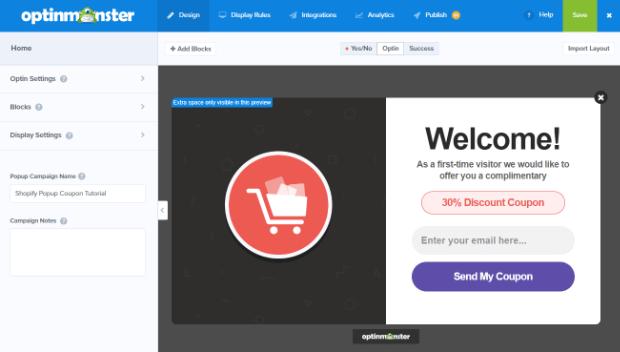
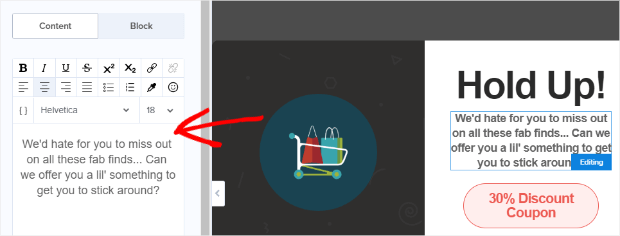
The default templates seem to be in the image above. Here you can edit the image, welcome heading and message, discount coupon, and more.
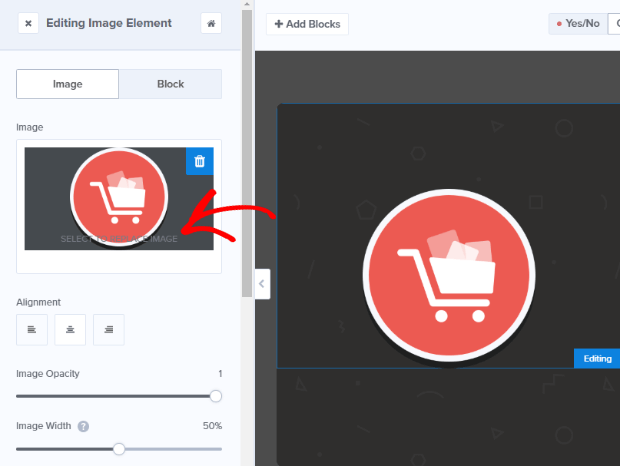
In addition, if you want to edit any field on your popup templates click on any field, for example, click on the message text field, now on the left side you can see the text fields options.
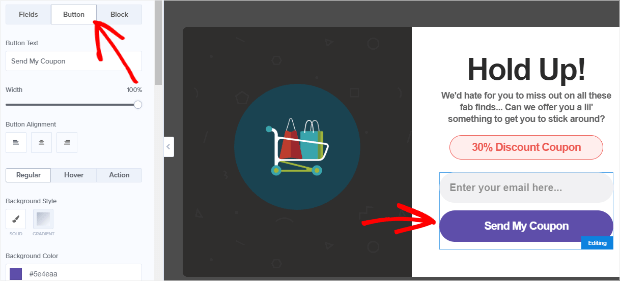
On the submit tab you can see the submit buttons options, such as colour, change the button text.
Step 3. Set Up Coupon Success popup
A visitor after entering the details on your popup, you need to give him a success message after the submission. So, in the success tab, you can customize the content as you want. And don’t forget to click the save button every time you have made changes.

Link exit popup to Shopify e-store
Now, first login to your Shopify account. Then going to shopify app store. Then search the “optinmonster” on the search box

Now its take you to app list, you can finde optinmonster app there.

Now click on “Exit Pop-Ups & Email Pop-Ups” its takes you to the app page then click on the “Add app” button, you can use it for a 30-day free trial.
In addition, now it’s asking for authorization on the Optinmonster website.

You can log in to your existing Optinmonster account or start with a free trial!
After login into Optinmonster, you see the install button at the bottom, click on install.

After login it will take you back to Shopify, there you see the install button at the bottom. after installation, it will be asking you for authentication on Optinmonster.

That’s it now you will successfully install the “Exit Pop-Ups & Email Pop Up” on the Shopify e-store.


