5 Steps to Connect WordPress Website Leads And Salesforce

Do you copy the form submission data to salesforce, now is the time comes to say goodby to this manual process? With the salesforce add-on provided by WPForms, you can switch to automate process send form entries from WordPress to Salesforce CRM by WordPress salesforce integration. So, WPForms easily do the WordPress salesforce integration with some clicks.
To do this WordPress Salesforce integration to your WordPress website you need a WPForms Elite license. By doing this on your WordPress website, you can create leads, contacts, accounts, and other Salesforce objects without doing anything on your salesforce account.
In addition, you can integrate the salesforce into any submission on the WordPress website, whether it’s a new form or an existing one. When a user submits a form from your website, an object is generated automatically on your salesforce account.
Step 1. Setup of wordpress salesforce integration
To do WordPress salesforce integration, first, you need to install and activation the WPForms with an elite license.
If you are new to install a WordPress plugin read our article how to install WordPress plugin? or watch the video to learn.
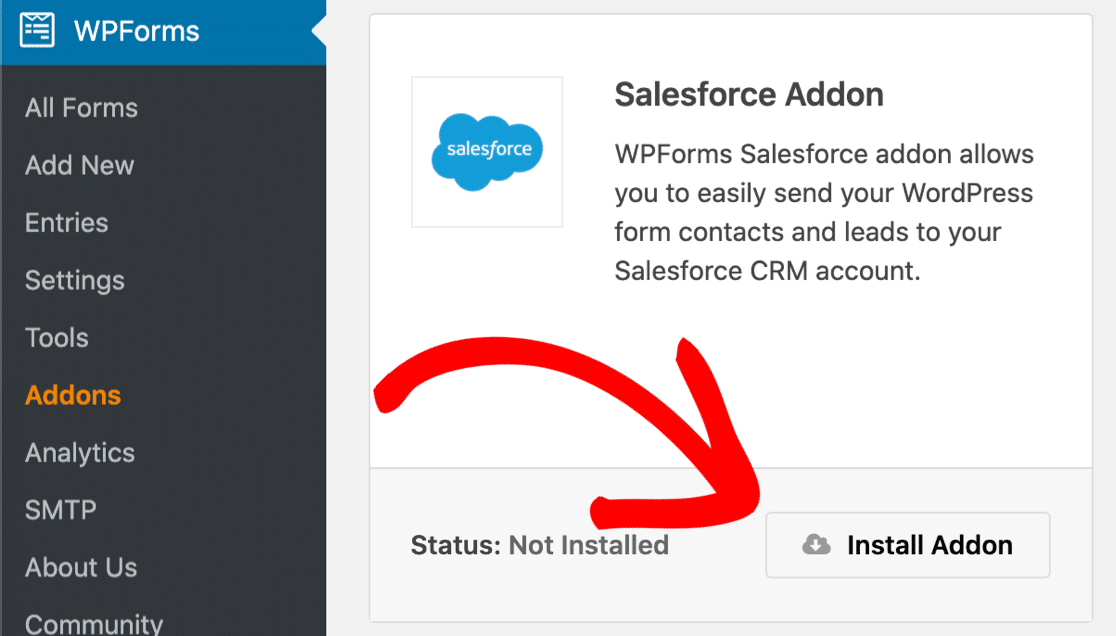
After installation and activation of both WPForms and the salesforce add-on, to install addon go and click WPForms » Addons in the sidebar.
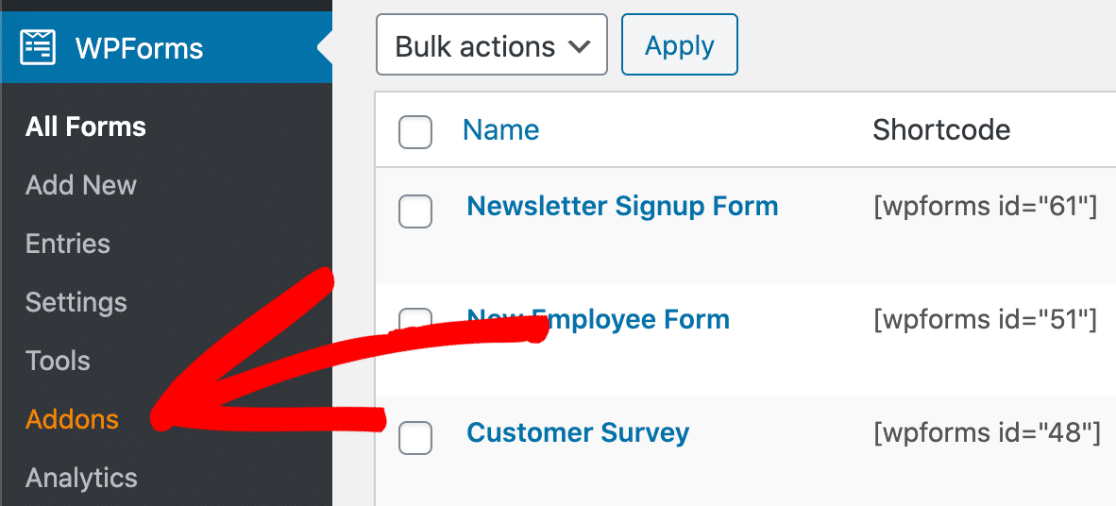
And, the salesforce add-on is looking as in the image below.
Step 2. Check Salesforce Version to WordPress Salesforce Integration
For salesforce integration, you must check and confirm the Salesforce version for API access. API access is available only for
- Enterprise Edition
- Developer Edition
- Unlimited Edition
- Performance Edition
In addition, to check your salesforce version, log in to your salesforce account and you can see your version as seen in the image below.
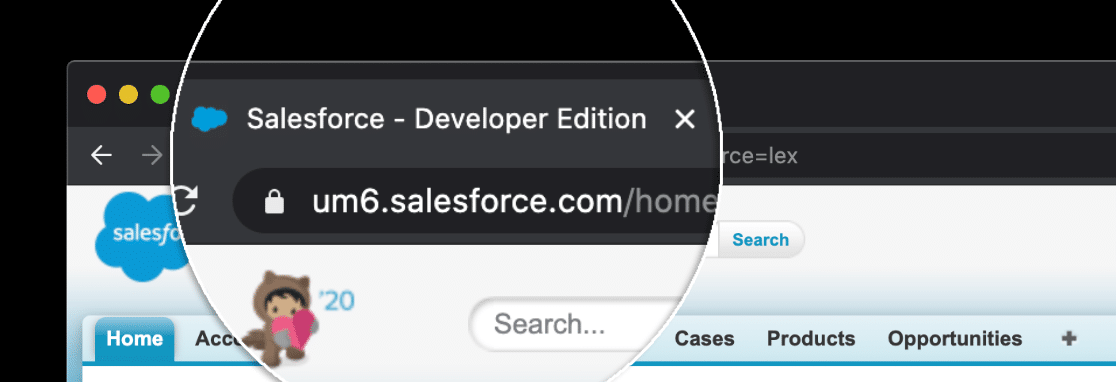
Please keep in mind, when you decide to create a salesforce account create as a developer
If you cant find your salesforce version head over to your profile which is on the top-right side of your computer. And click on the switch to Salesforce classic.

In addition, this will take you to another window, then go to Setup-Company Profile-Company Information, there will be you can see your salesforce version, which looks like as seen in the image below.

Now the basic step is complete here in salesforce.
Step 3. WordPress Salesforce IntegrationStep 3.
To connect both salesforce and WordPress you need to create an app on salesforce. To create an app on salesforce, first, switch to Salesforce classic, then click on setup

There you see the list of services offered by salesforce on the left side. On the left side, you can see the Create under the Build, click on create then there you see the Apps button.

Click on the Apps button, now you see the 3 sections as Apps | Subtab Apps | Connected Apps.

Furthermore, in the connected apps click on the New button. Now you see the app settings page. In the Basic Information enter these things.
- Enter your app name in the Connected App Name filed.
- API Name will be added automaticlly.
- Enter your working email address in Contact Email field.

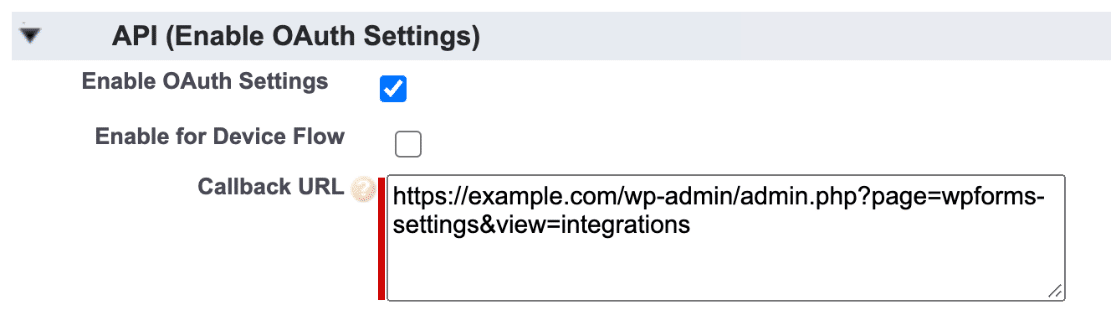
These three fields are required, in the rest of the fields, you can add or left needed information. Next in the API (Enable OAuth Settings) enable the Enable OAuth Settings checkbox. After ticking the checkbox it will ask you to add some information, for doing so, switch back to your WordPress dashboard in a separate tab. Keep alive the salesforce app settings screen.
Back in the WordPress dashboard click on WPForms » Settings-Integrations. Now there you see the salesforce icon, click on it, there you will see the Add New Account button. Click on the Add New Account button now there you will see the call back URL, copy that URL
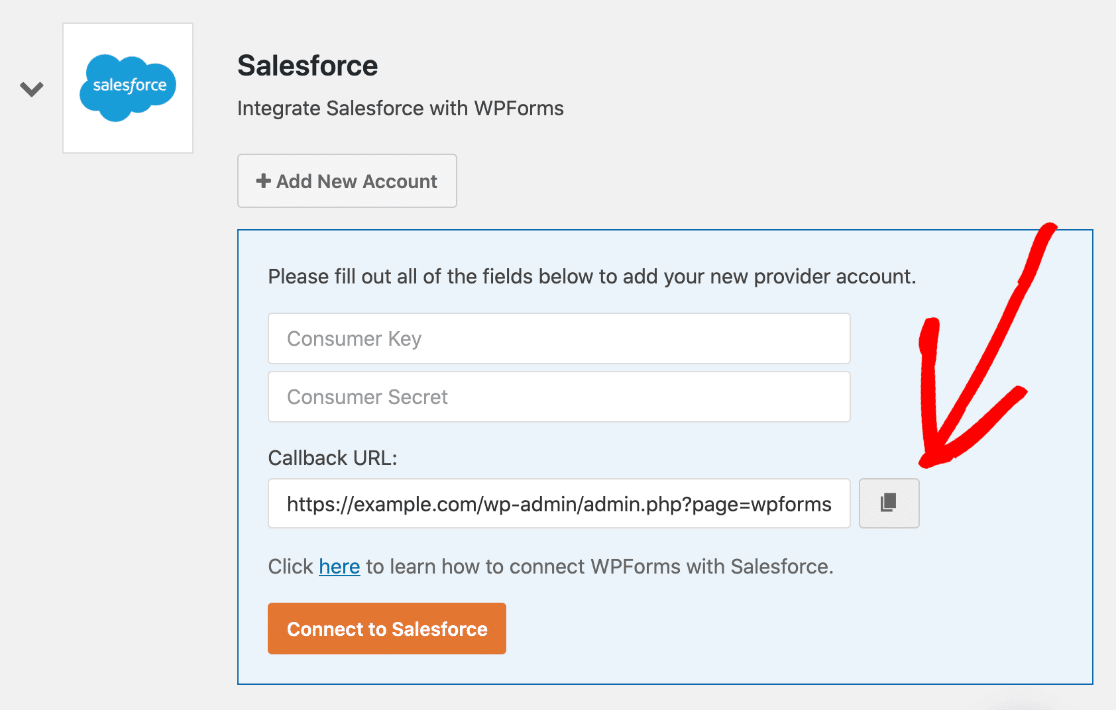
Now come back to the salesforce app settings screen, and paste copied URL on the Callback URL tab.
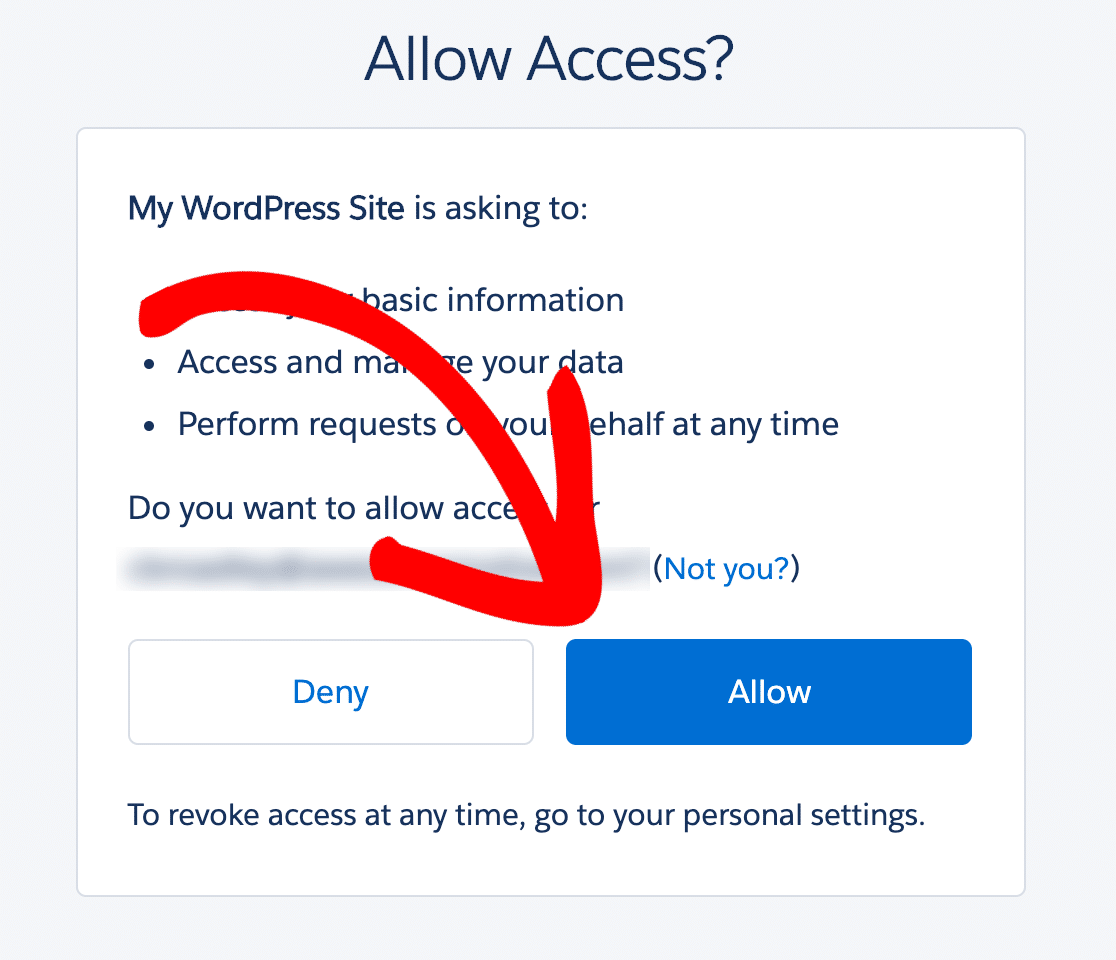
After pasting the callback URL, select these two OAuth Scopes such as
- Access and manage your data (api)
- Perform requests on your behalf at any time (refresh_token, offline_access)
And, add it to the Selected OAuth Scopes box by clicking the arrow button

Now all set to go live, don’t forget to click the save button, which is on the top or bottom of the screen.
Step 4. Connect WordPress to Salesforce
Now all set to connect WordPress to Salesforce. After click saves, now in the next display you can see both Consumer Key and Consumer Secret under API (Enable OAuth Settings).

Copy and paste both keys to here in the WPForms tab on the WordPress dashboard.
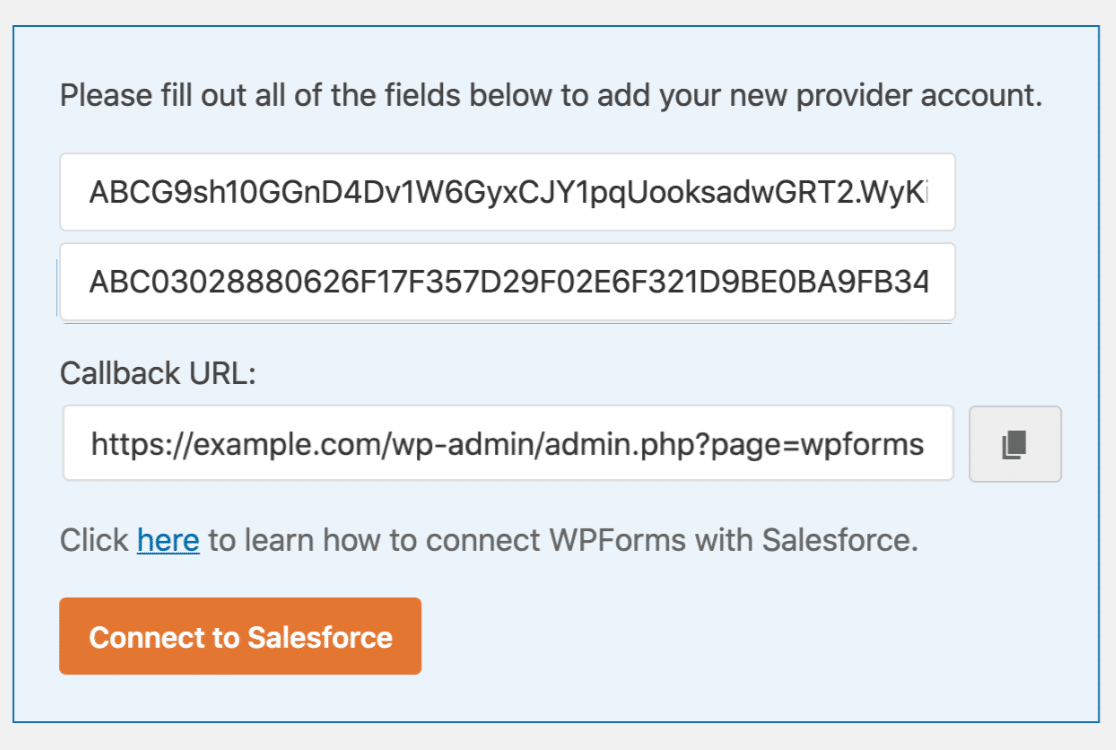
After pasting both values click on connect to salesforce. Now it will request permission to access your Salesforce account. Click on allow button to access.
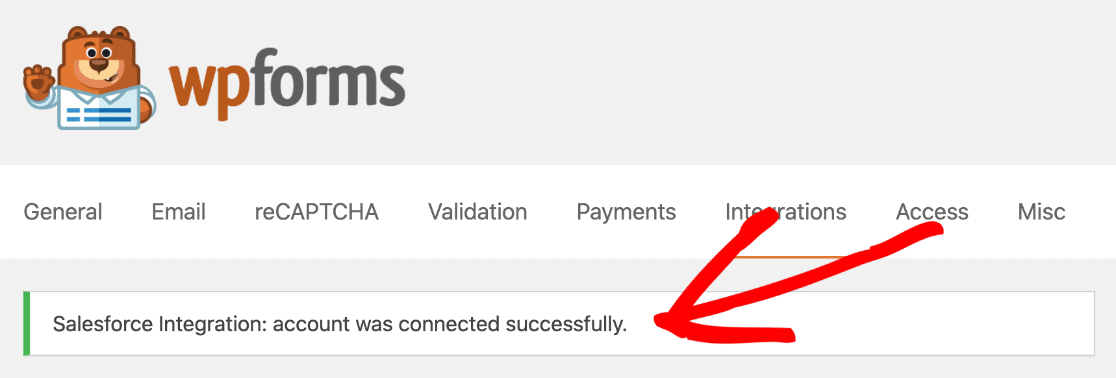
After access to the salesforce account, it will back to your WordPress dashboard and it will be showing you a success message.
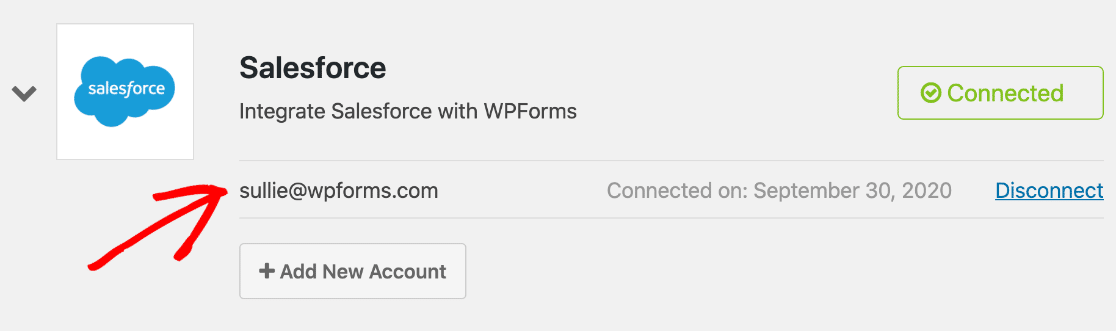
Now, you can see the connected account under the salesforce icon.
Step 5. Create Salesforce Integrated WordPress Form
Now start to create a WordPress form with Salesforce integration. All submissions with this form are going to the salesforce account automatically.
If you are new to create a WordPress form by WPForms, for this read our article about creating a WordPress form to create a form.
WPForms comes with plenty of pre-made form templates, you can choose any from it, and you can customize it as you want.
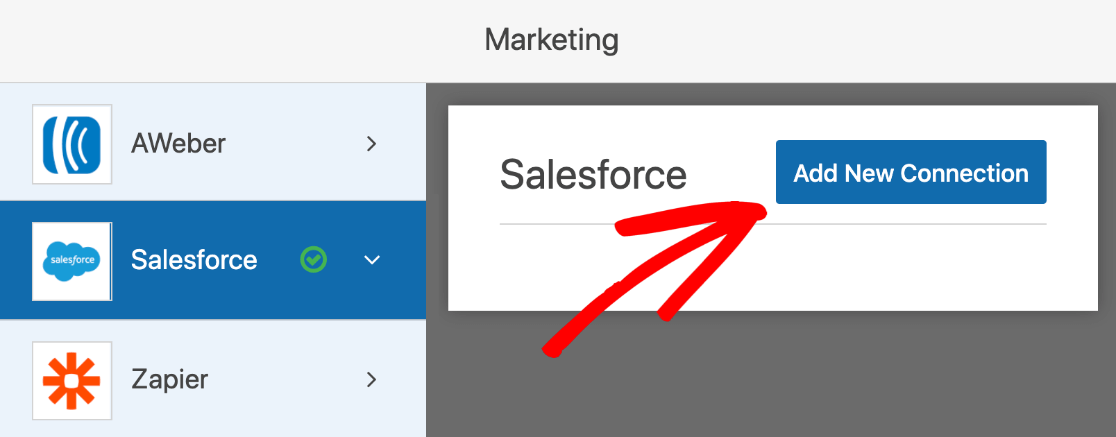
After creating the form, head over to the marketing tab, where you see salesforce, click on it then click on Add New Connection.
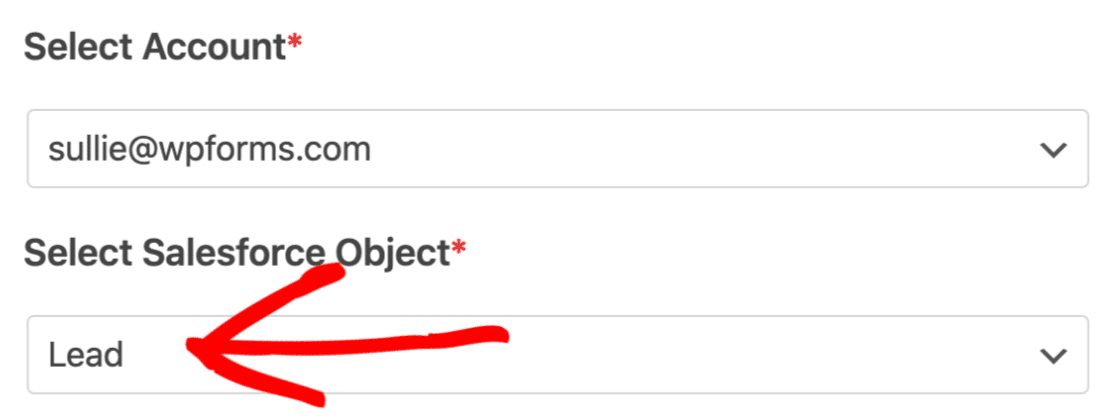
After click on Add New Connection, then enter a name to your connection, then click the ok button, now you can see the salesforce account you have already added. And in the next tab select Leads
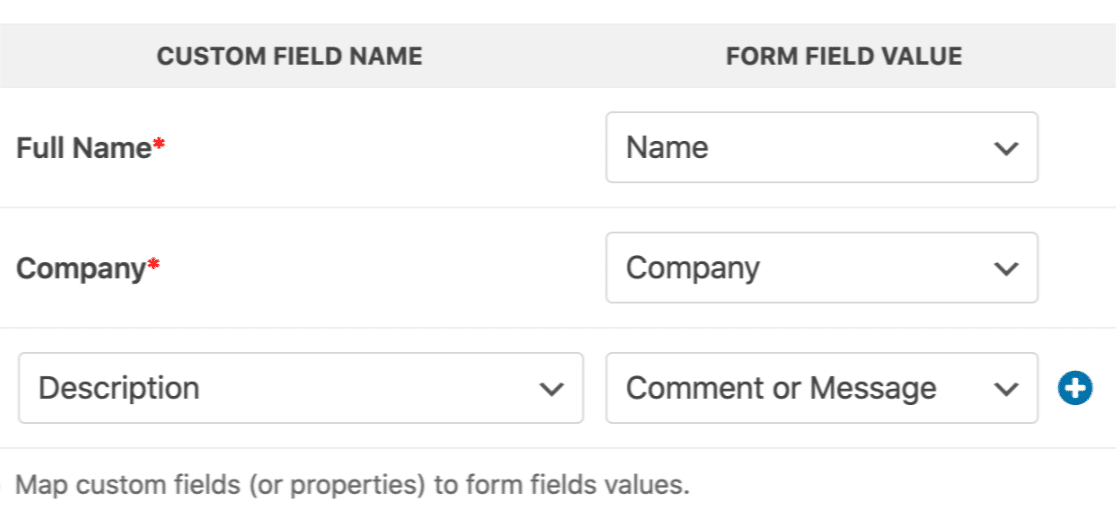
After selecting the leads, now you should do one more thing here. Map the fields of your WordPress form to the salesforce leads area. When you get a new submission from your salesforce integrated WordPress form, the submission data will be added automatically to the leads area on the salesforce account.

That’s it. you have successfully done the WordPress salesforce integration. Now you can get all your salesforce integrated form submission to your salesforce account automatically.
If you would like this article, please share it with your social channels it will help to needed ones.
Read our WordPress related article to grow your online business
- 5-things-about-flywheel-growth-suite
- WordPress-seo-made-simple-semrush-free-trial
- Handcrafted-wordpress-contact-form-plugins-for-bloggers


![How To Create an Engaging Multi-Page Form [Step-by-Step]](https://wpwebsmartz.com/wp-content/uploads/2020/11/How-To-Create-an-Engaging-Multi-Page-Form-Step-by-Step-1024x576.jpg)