Create an Order Form in WordPress in 3 Simple Steps

Do you think to sell any product from your website, or would like to get an order from your website?
If yes, but don’t know how to do the process and have no idea about the WordPress order form. in this article, we are taking this tutorial in brief with the images.
This is very easy to implement on your website. Create a simple order form on your website and get orders from visitors and get paid online with cards or PayPal.
Step 1. Create a wordpress order form on your Website
First, you need to create an order form on your website to get paid. You can use this form for both digital products or physical products.
In addition, you need to install the WPForms WordPress plugin and the PayPal addon. To install a WordPress plugin read our tutorial about how to install the WordPress plugin. The same process will be applied to the PayPal addon
Watch this video to learn install WordPress plugin
After install and activation of the plugin go to WPForms » Add New to create a new form.
WPForms gives you plenty of pre-made templates to create any type of form. also, they give you the order form templates. SO, you can create a WordPress order form easily. Click on the order form template.

After clicking on order form templates now the form loaded automatically and you will see the all needed fields on the form.
In default order form there will be
You can add or edit fields as you want, If you want to edit any fields, then click on a particular field. In this tutorial, I select the available items field
Payemnt Fileds
The fields related to E-Commerce is located under “Payment Fileds” These payment fields include
- Single Item
- Multiple Item
- Checkbox Items
- Dropdown Items
- Total
In this tutorial, I select the multiple items field to crate a WordPress order form.


Here in the items field, you can add or remove items or change the amount of any items.
So, in the total amount field, the value of the selected item is displayed in this field. In addition, you do not need to know any coding skills or any special skills. All these things you can do by drag and drop features.
On the other hand, you can display the images of the items. So click on “Use image choices” now you will see image upload options under every item. and the images are displayed in the form builder area.


In addition, if a visitor clicks on any image/product then the amount of particular products is reflected on the total field.

Step 2: Customize Your Notifications on the WordPress order form
Furthermore, the notification is very important to a visitor after he completes the order. This will helps the visitor to make sure that receiving a confirmation email after the order.
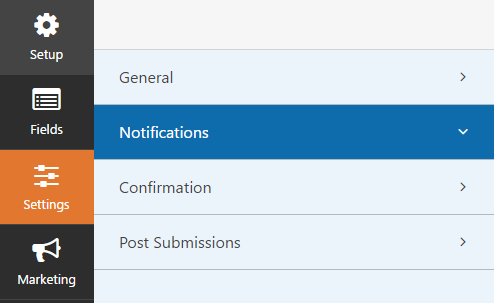
If you want to customize the email notifications for your form, you can click on Settings » Notifications.
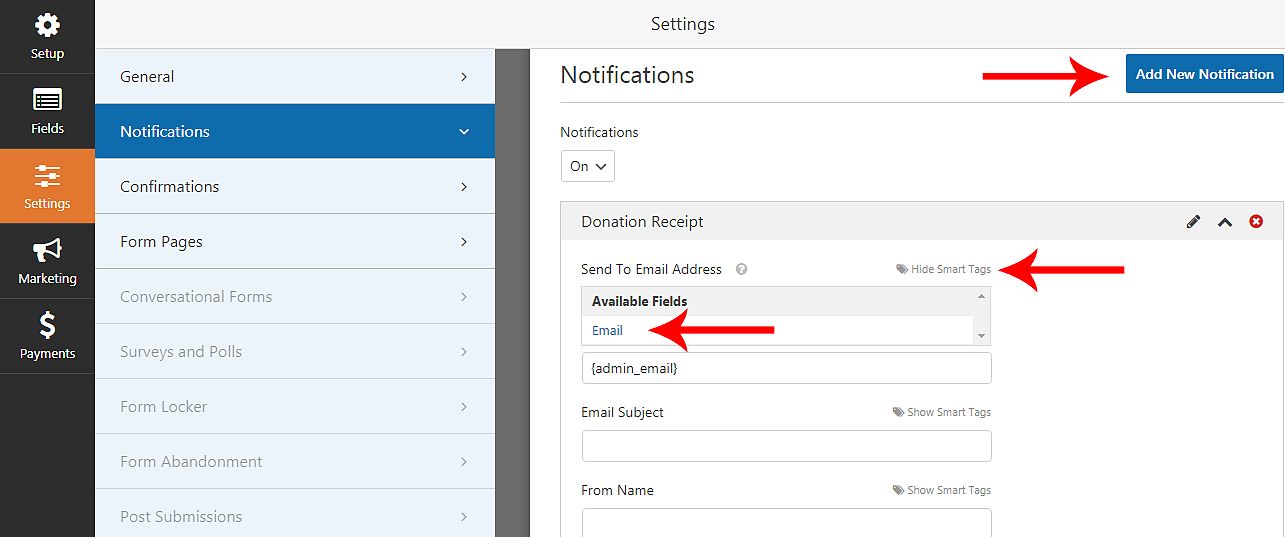
In addition, you’ll see there’s a default notification that will be sent to the site administrator. You can click the Add New Notification button to create a separate notification for the donor.
Click on “Add New Notification” and enter a notification name.

Then you should make some changes, by default the notification will be sent to the site administrator.
Next to Send to Email Address, click Show Smart Tags. In the list that appears, click Email. You’ll see a smart tag such as appear in this format {field_id="1"} .
Here you can change all the fields by clicking the “Show Smart Tags”. That such as
- Email Subject
- From Name
- From Email
- Reply-To
- Message
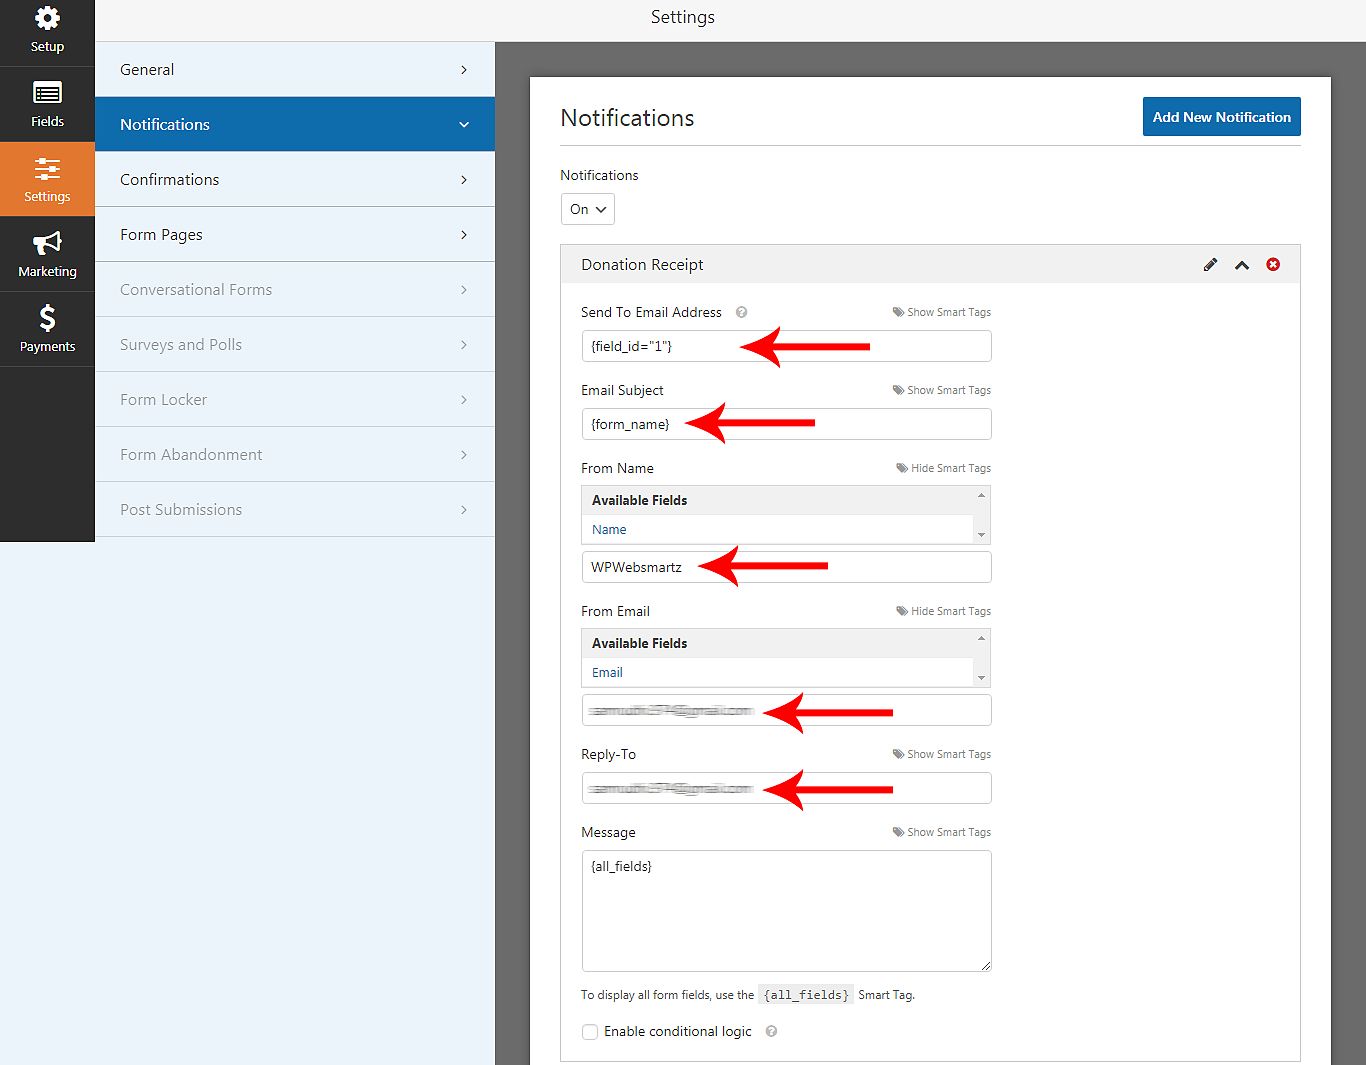
In the message tab, enter a beautiful customized message to the buyers. This might be a good opportunity to try to re-engage with users by sending them to a relevant product.
Step 3: Set up the Payment Settings to get payment from WordPress order form
Now in the last step, you should set up your payment settings to your order form to get paid, for this first you go to the payments tab on the form builder. There you will see the two payment gateways such as Paypal Standard and the Strip.
In addition, click on PayPal standard, now its all setting are displayed on the form builder area.
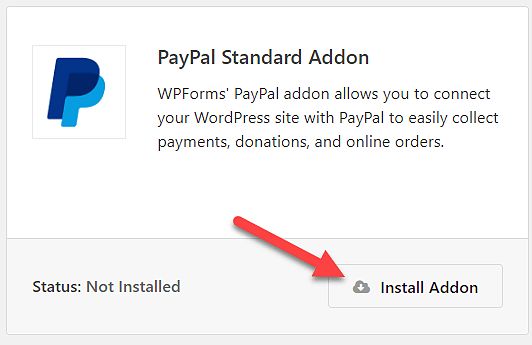
This PayPal standard payment gateway will be enabled after you install the PayPal addon to your WordPress website.

In the form builder go to Payments » click on PayPal Standard. Here, you’ll need to check the box labeled Enable PayPal Standard payments.
- In the PayPal Email Address: add your PayPal account email id.
- Mode: Select product to receive real payments.
- Payment Type: Select one from the drop-down. Product-Service or Donation.
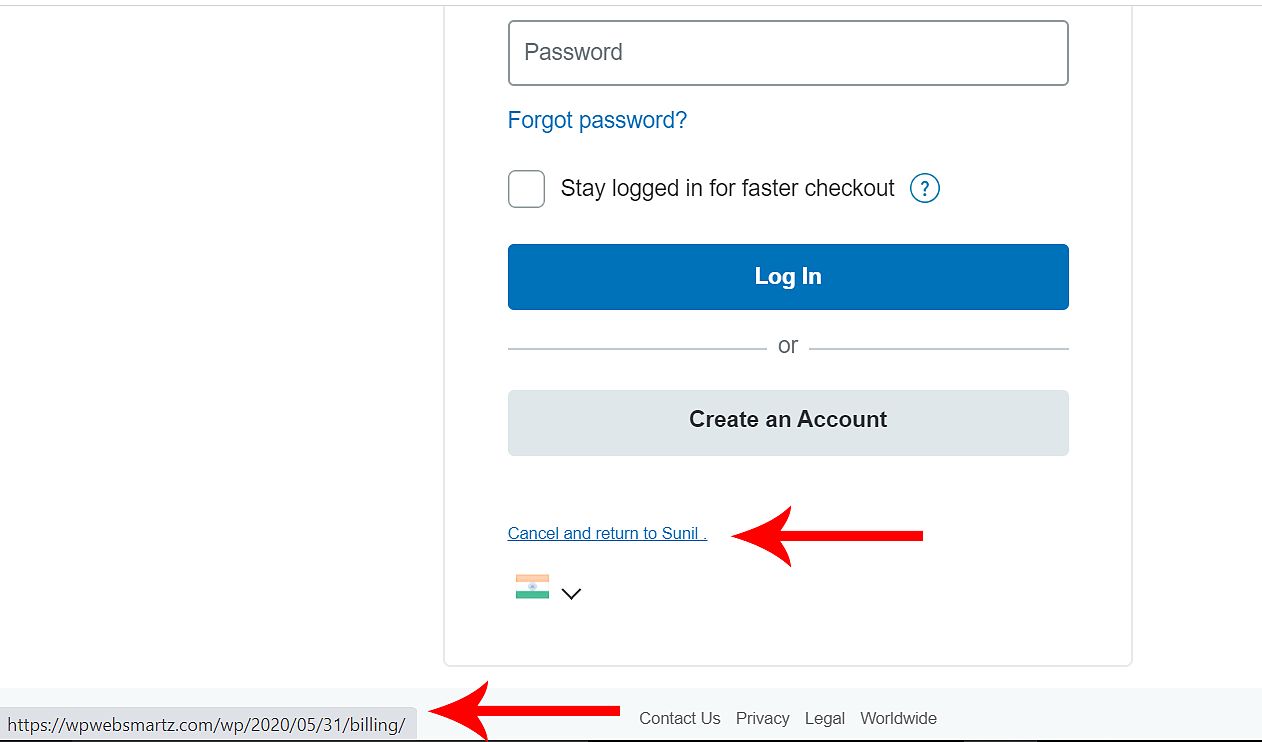
- Cancel URL: Add your cancel URL. You can find this on the payment page PayPal. This is one of the pages of your website. You can add here any page as you want.
- Shipping: If you’re shipping a product to the user, you can choose to ask for and require an address field during PayPal’s checkout process.
- note: If you want to get any additional message from the buyer don’t enable this “Don’t ask the buyer to include a note with payment” checkbox. Or not to wish to get any message from buyers then enable this checkbox.
The second checkbox is to enable conditional logic. This is useful if you’d like to let your users choose between paying with Stripe or PayPal in your form.
Now all settings over now you are ready to get orders from your WordPress order form